Machine Learning Model Deployment in Azure
Introduction
It is very common that the machine learning (ML) models are developed locally. Specially when de task is done within a small data scientists group. However, to allow those ML models to be highly used by other services it is needed to put them in a large infrastructure so they can be highly available and run fast enough. In this tutorial we are going to show how to perform this task by using MS Azure App Service.
Deployment
First of all, if we don’t have it, we create an account for MS Azure. If this is the first time, at the time of writing this tutorial, there is an offer to use the services for free up to $200. However, don’t worry if you already created the account as the deployment for this tutorial will be using free resources.
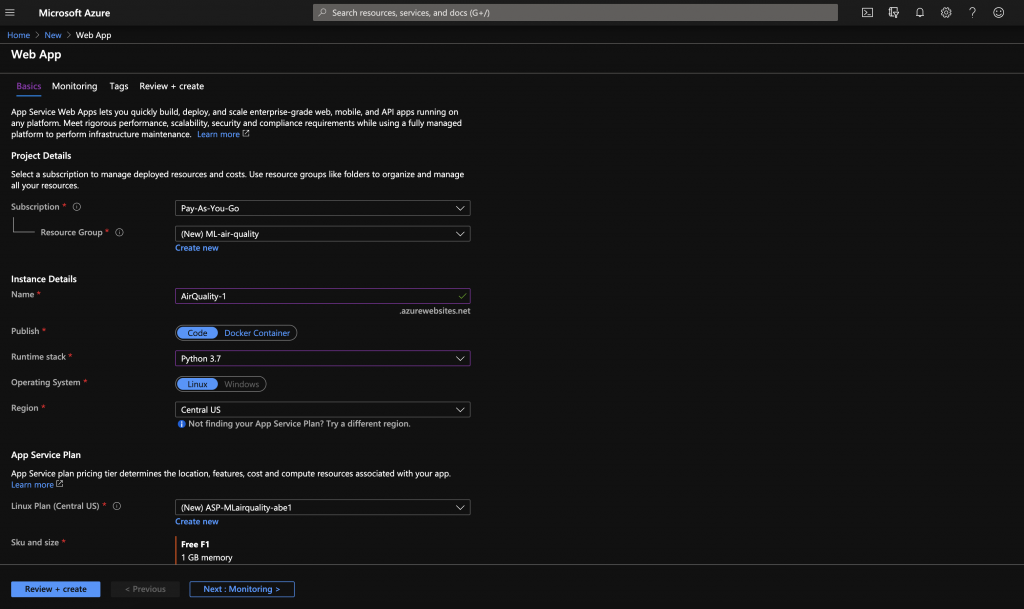
Create a subscription if you don’t have it. In this case, we go for a “pay as you go” subscription. Then we go to Web App tab by doing click in the hamburger button. We create a resource group, which an Azure unit for billing a group of resources. Here we select the subscription and the resource group. For this project, we select Python 3.7. The region can be selected independently. It is important select the Free F1 Sku. This is a small instance where we are going to allocate our code for free in this demo.
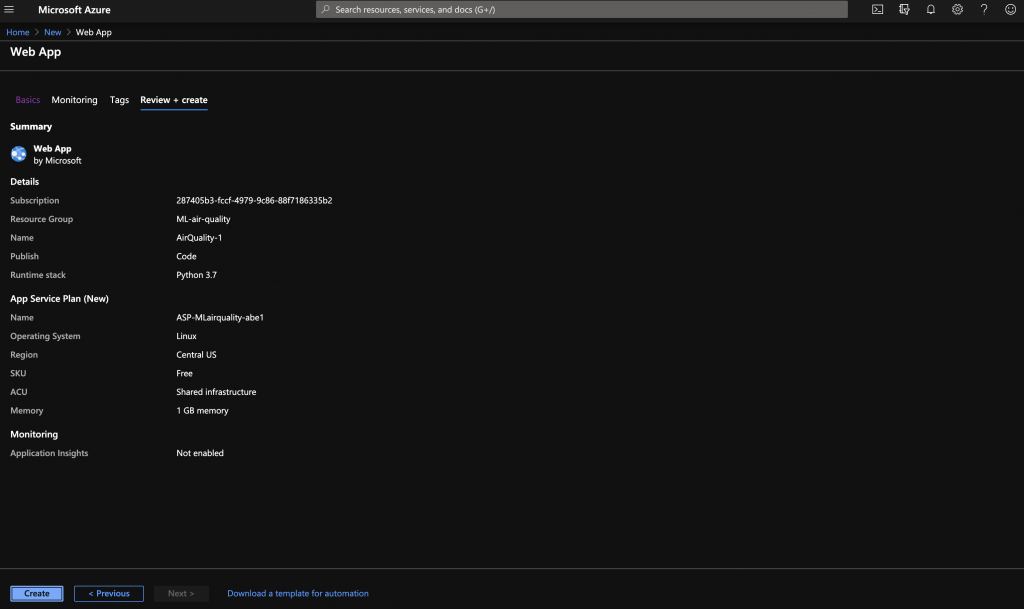
Going to the next step we confirm the selected parameters and then we proceed to create the web app.
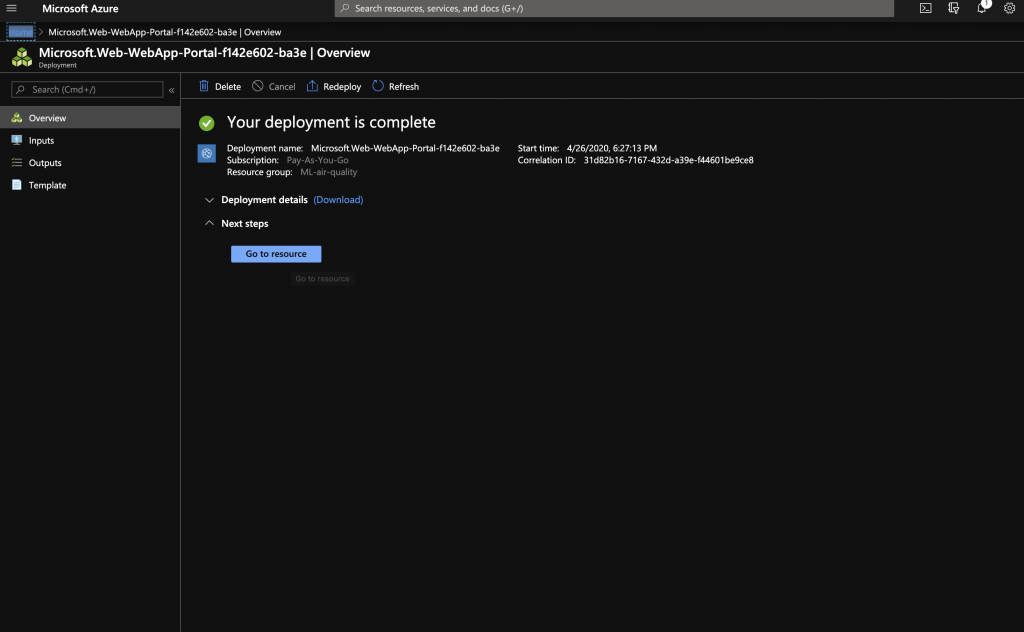
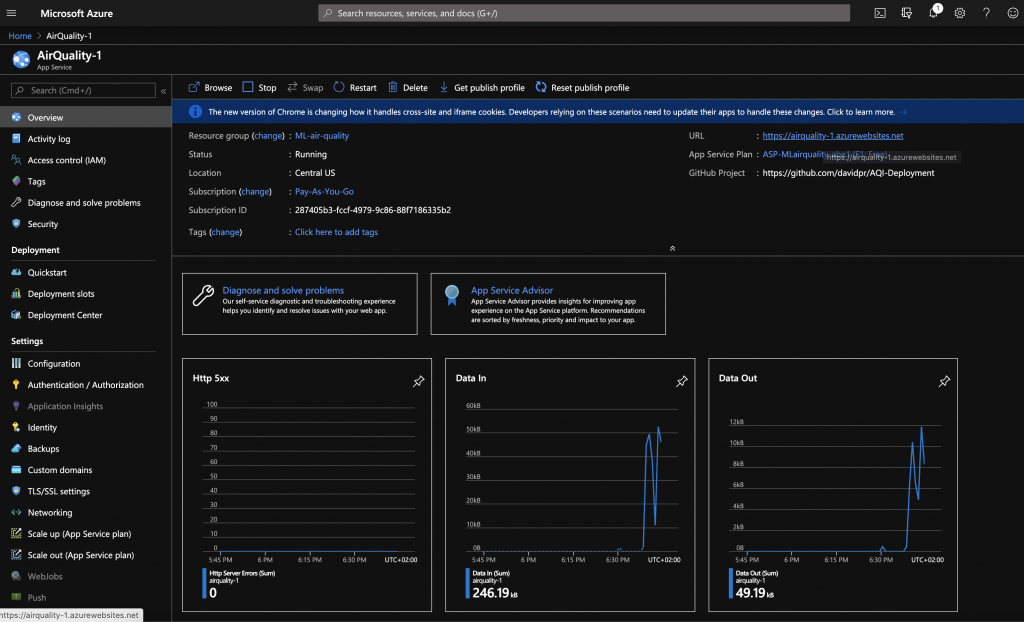
It may take some minutes to have the instance available. Once it is done, you should see the following screen:
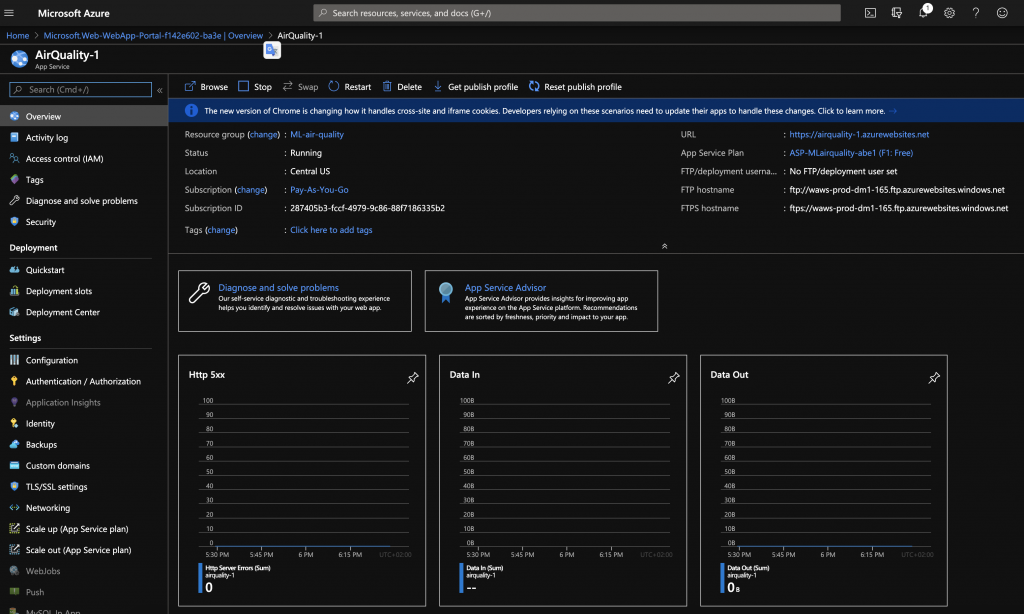
In the overview panel the URL and FTP address are shown. There is also a dashboard with some useful metrics of the instance. At this moment, the instance is not running the code, so all charts show the lack of activity.
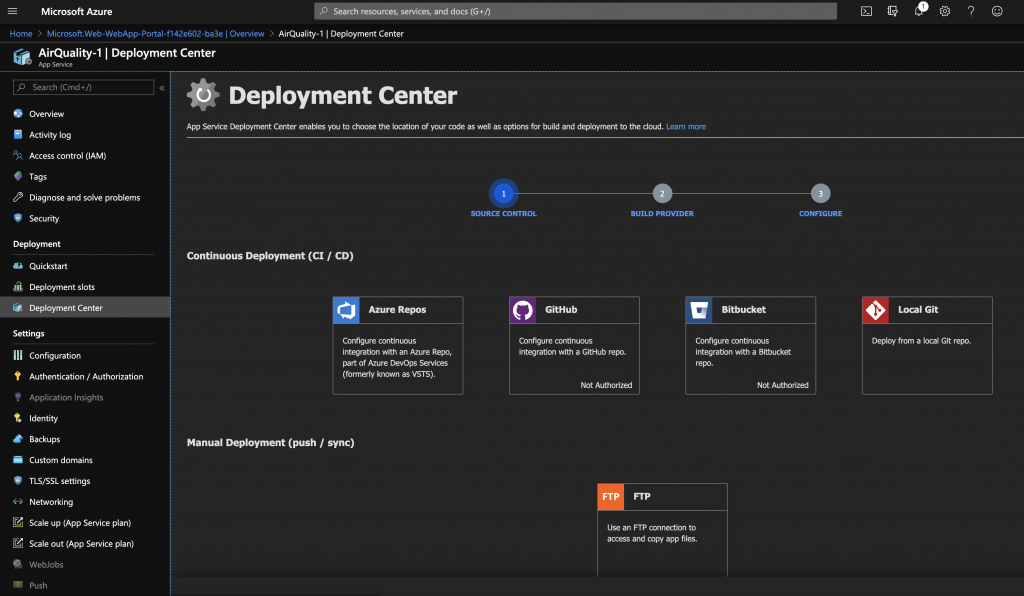
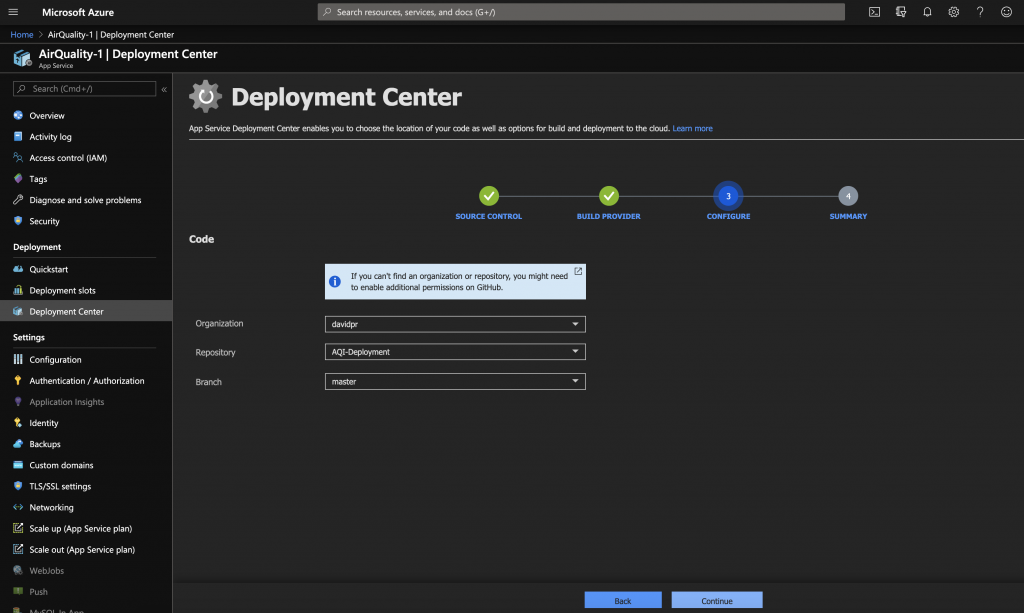
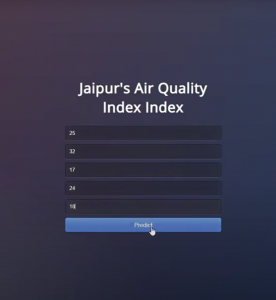
Now we are going to specify the code that the web app will use. Here is were we insert the ML code that will be used as a service. Select the Github option and use the code of the following address: https://github.com/davidpr/AQI-Deployment. This is using a random forest algorithm to predict the air quality based on some input parameters.
Your Github account will be requested in the next step, so it is needed to fork the repository specified above.
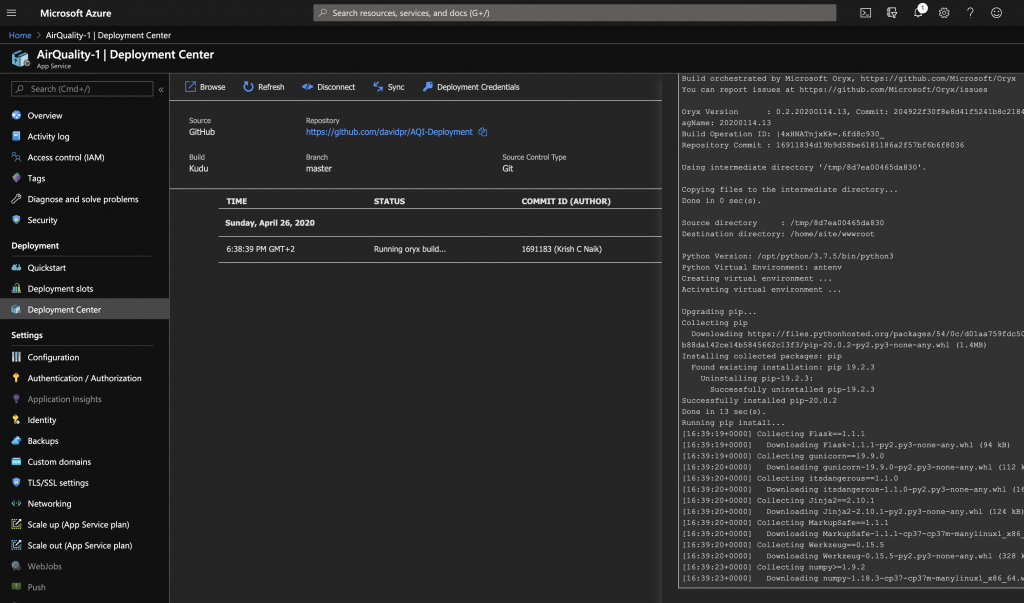
While the code is been deployed in the instance you can see the logs, which tell you the steps under the hood.
Once the code is deployed return to the overview tab to confirm the activity in the instance. Go to the URL and access to the service you have just created.
Congratulation! you’ve deployed the machine learning code in the cloud, which will unleash all the power of your code.
Conclusions
This tutorial shows how easy is to use Azure to deploy the web app. In this case, the app was created using Flask, which enables to very easily create an endpoint to access the service. In this sense, there is no need to make modifications to pass the code from local or on-premises to the cloud. This makes very convenient to use Azure web app to leverage the power. The only aspect to be bettered could be the speed of the instance creation or the code deployment. However, for this last step, because of the used machine was the free one, it is understandable that the deployment took around 10 minutes.


